650 ANSI Projector Setup: Autofocus, Keystone & 4K Tips
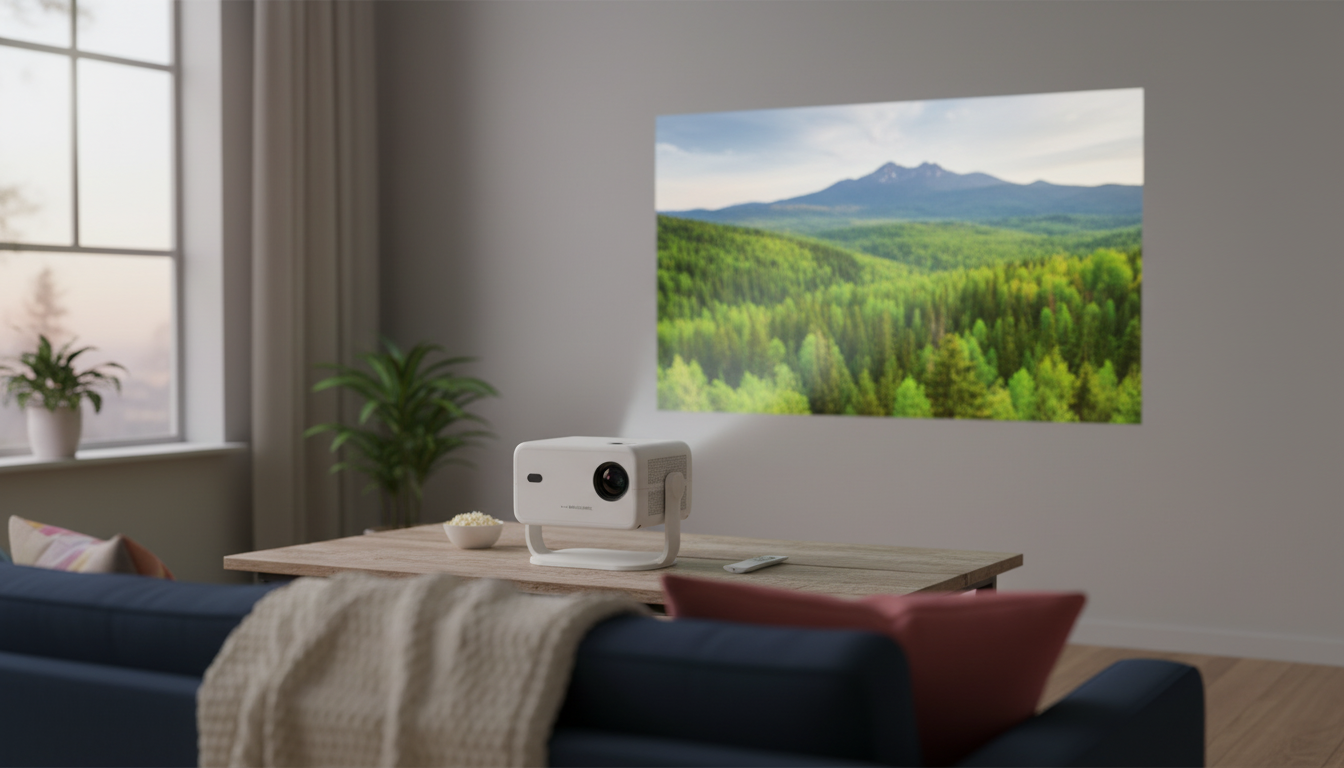
650 ANSI Brightness in Real Rooms: What It Looks Like
A 650 ANSI projector is designed to look its best when you can control light. In a dim living room, bedroom, or basement, it can deliver a satisfying, punchy picture for movies, streaming, and casual gaming. In bright daylight, the image usually becomes flatter—especially in darker scenes—because ambient light competes with the projected image and reduces perceived contrast.
Screen size also matters more than many people expect. With the same projector and the same brightness setting, a smaller image concentrates light into a tighter area, so whites look brighter and colors appear more saturated. If you’re aiming for a “TV replacement” look, it’s often better to start with a moderate image size and increase it gradually until brightness feels right.
Finally, the wall itself is part of the “display.” Smooth, light-colored surfaces reflect light more evenly and help preserve sharp edges. Textured paint, paneling, or darker colors can soften details and make the image look dimmer than it should. For daytime viewing, curtains or blinds can make a bigger difference than any menu setting.
4K Support vs. Native Resolution: What to Look For
Many projectors advertised as “4K” are 4K-capable in the sense that they accept a 4K signal and then scale it to the projector’s imaging resolution. That can still look excellent—especially with high-quality source material—because scaling and image processing have improved a lot. The key is to focus on what you see on the wall: crisp edges, clean gradients, and natural-looking color, not just the number printed on the box.
Streaming sticks and boxes can also introduce issues if output settings don’t match what the projector handles best. If colors look washed out, menus look overly bright, or the picture cuts out briefly, try adjusting HDMI output settings (resolution, HDR on/off, color format) on the source device. For interfaces and text, it’s often smarter to choose the cleanest-looking output mode rather than forcing the highest possible resolution.
Source quality matters as much as resolution. A high-bitrate 1080p stream can look more detailed and stable than low-bitrate 4K, especially in fast motion or dark scenes.
| Source | Recommended starting point | Why it helps |
|---|---|---|
| Streaming stick/box | Start at 1080p or Auto; enable 4K only if stable | Reduces stutter and avoids scaling artifacts on some content |
| Game console | 1080p; Game/Low-latency mode if available | Often improves responsiveness and maintains clarity |
| Laptop | Match display output to projector’s cleanest setting | Avoids blurry text caused by fractional scaling |
Auto Focus: Faster Setup (and When to Re-Run It)
Auto focus is one of the most practical quality-of-life features for a portable-style projector. Instead of manually tweaking a focus ring every time you move the unit, auto focus quickly hunts for the sharpest image after a position or distance change. That’s especially helpful if you’re switching between rooms, moving from a coffee table to a tripod, or packing the projector away between uses.
Auto focus works best when the projector is already physically aligned. If the image is sharp in the center but softer toward the edges, the projector may be off-center, tilted, or projecting at an awkward angle. Before relying on digital correction, get the projector as level and centered as possible; then re-run focus for a cleaner result.
Also, keep the lens area clean. A smudge or dust can reduce perceived sharpness and may confuse focus detection, making the projector “hunt” more than it should. A gentle microfiber wipe can fix a surprising number of “my projector looks blurry” moments.
Keystone Correction: Straighter Edges Without the Awkward Angles
Keystone correction is designed to fix trapezoid distortion—when the projected image is wider at the top or bottom (or one side) because the projector is placed above/below or left/right of center. It’s a great feature for real homes where “perfect placement” isn’t always possible.
| Common setup | Better physical placement | Result |
|---|---|---|
| Projector off to the side | Move closer to centerline of the screen | Straighter edges and better sharpness |
| Projector angled sharply upward | Raise projector height (stand/tripod) and reduce tilt | Less keystone, improved clarity |
| Projector too close for desired size | Increase distance gradually while staying level | More even focus across the image |
Connectivity and Everyday Use
For deeper reading on projector performance and evaluation methods, see the buying guidance at RTINGS. For a helpful overview of how perceived brightness relates to light output and viewing conditions, Extron’s brightness explanation is a solid reference.
Best-Use Scenarios: Movies, Sports, Gaming, and Presentations
Movie nights
Sports and TV
Casual gaming
Presentations
Care, Troubleshooting, and Quick Fixes
In-Stock Picks
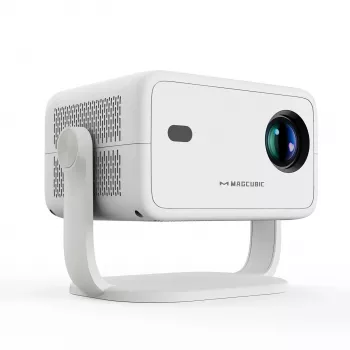
- 650ANSI 4K Projector with Auto Focus & Keystone Correction ($83.51)
- 2-3 Person Low EMF FAR Infrared Sauna with Tempered Glass and App Control ($4581.65)
- Luxury Large Capacity Bowling Shoulder Bag with Sausage Dog Pendant ($61.97)
FAQ
Does auto focus work every time the projector is moved?
It typically refocuses after you change position or distance, but the sharpest results come when the projector is level and centered first. Re-run auto focus after big moves, a new surface, or when switching between very different content types.
Will keystone correction reduce image quality?
Mild keystone correction is usually fine, but heavy correction can soften the image and reduce effective detail. For the cleanest picture, physically align the projector as much as possible and use keystone for minor tweaks.
Is a 650 ANSI projector bright enough for daytime viewing?
It’s generally best in dim rooms or at night. Daytime viewing can look washed out unless you control ambient light with curtains or blinds and keep the image size smaller.










Leave a comment